POS Receipts and Staff Tracking
View receipts, track staff sales, and manage POS order history.
POS Receipts and Staff Tracking
- View and understand POS receipts after checkout
- Track which staff member processed each sale
- Access your complete POS order history for reporting
Understanding Your POS Receipt
When a customer completes a purchase at your counter, BakeOnyx automatically generates a receipt that shows all the important details of the transaction. This receipt displays your bakery's information, the items sold, the total amount, and the payment method used.
Each receipt also includes a "Served by" line that shows which staff member processed the sale. This information is automatically captured when the cashier logs into the POS system, making it easy to track who handled each transaction.
Viewing the Current Cashier
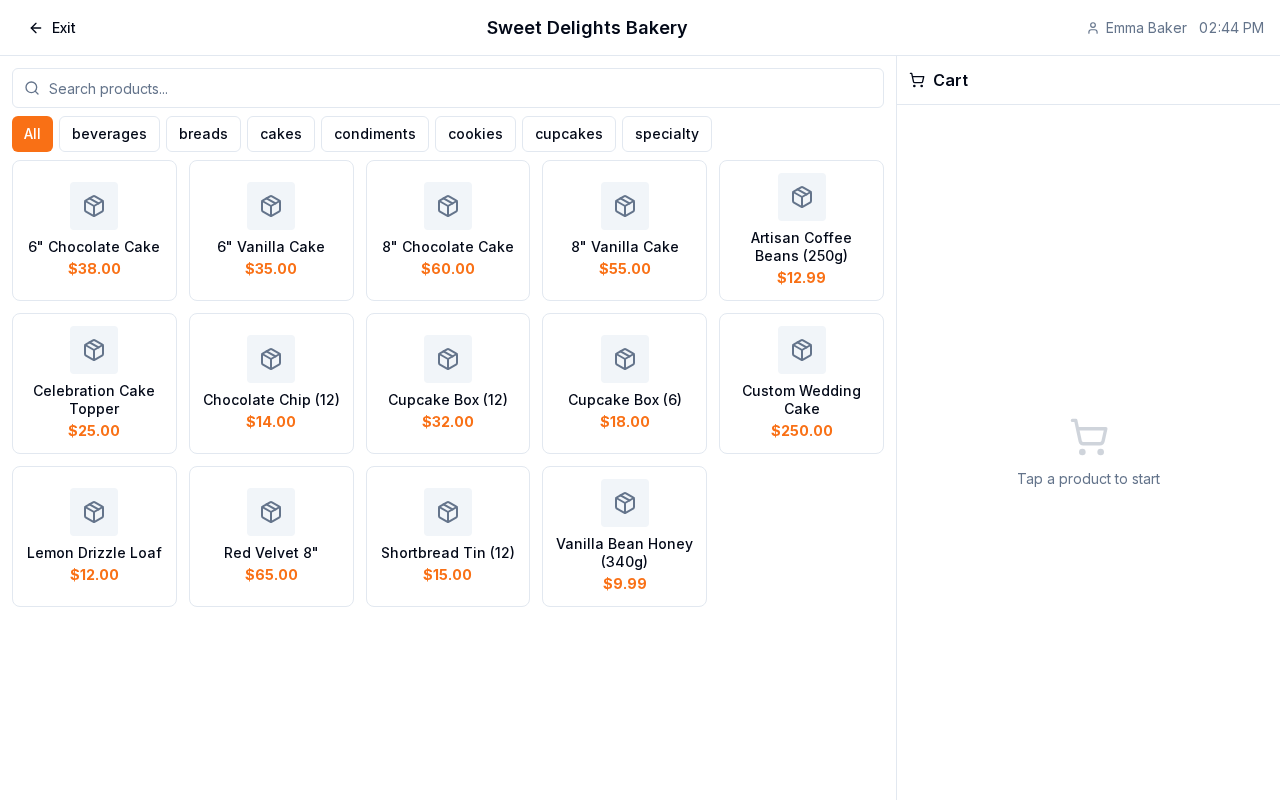
The POS header at the top of your screen displays the name of the staff member currently logged in and processing orders. This ensures you always know who is operating the register.

Finding POS Orders in Your Order History
All POS orders are automatically added to your main Orders list in BakeOnyx. You can easily identify and filter these orders using the order type.
- Go to the Orders section in your dashboard
- Look for orders marked with the order type "pos" — these are your point-of-sale counter transactions
- Click on any POS order to view the full receipt details, including items, customer payment, and which staff member served them
Tracking Staff Sales
BakeOnyx tracks which staff member created each POS order through the createdByUserId field. This allows you to generate reports on individual staff performance and sales.
To see sales by staff member:
- Navigate to the Reports section of your dashboard
- Look for sales or order reports that break down transactions by staff
- Filter by date range to see performance over specific periods — daily, weekly, or monthly
- Use this data to identify top performers, track training progress, or plan staffing schedules
Customizing Your Receipt Format
The way your POS receipts look and what information they display can be customized. Your receipt format follows the document display settings you've configured in your system.
To adjust receipt settings:
- Go to Dashboard → Settings → Documents
- Configure your bakery name, logo, footer text, and other display preferences
- These settings automatically apply to all new POS receipts generated
This is useful if you want to add special messages, loyalty program information, or contact details to your receipts.
Best Practices for POS Management
- Daily reconciliation: Review your POS orders at the end of each day to ensure all transactions are recorded correctly
- Staff accountability: Use the "Served by" information to track performance and identify any discrepancies
- Regular reports: Generate weekly or monthly sales-by-staff reports to monitor trends and celebrate top performers
- Secure logins: Remind staff never to share login credentials — each person should have their own account
Next Steps
- Creating a New Order — Learn how to manually create orders if needed
- Reports Overview — Dive deeper into sales reporting and staff performance tracking
- Creating a Recipe — Set up your bakery's products for sale
The summary, FAQ, and statistics in this section were compiled from public sources and reviewed by the BakeOnyx editorial team. AI-assisted research.
Frequently Asked Questions
How can I see which staff member processed a specific sale?▾
Each POS receipt generated by BakeOnyx includes a 'Served by' line. This automatically displays the name of the staff member who was logged into the POS system when the transaction occurred. You can also find this information by viewing the full details of any order in your Order History.
Where can I find all my past POS transactions?▾
All point-of-sale counter transactions are automatically recorded in the 'Orders' section of your BakeOnyx dashboard. You can easily identify these by filtering for orders with the order type 'pos'. Clicking on any 'pos' order will reveal its complete receipt details, including staff attribution.
How does BakeOnyx track sales by individual staff members?▾
BakeOnyx tracks sales by staff through the 'createdByUserId' field associated with each POS order. This data is accessible in the 'Reports' section, allowing you to generate specific reports that break down transactions by staff member. You can filter these reports by date to analyze performance over time.
What should staff do to ensure accurate sales tracking?▾
It's crucial for each staff member to log in when they start processing orders and log out when they finish their shift or step away from the POS. This ensures that sales are correctly attributed to the individual cashier, preventing inaccuracies in sales reports and performance tracking.
Can I customize the information that appears on my POS receipts?▾
Yes, the appearance and content of your POS receipts are customizable. BakeOnyx uses the document display settings configured in your system's 'Settings' → 'Documents' section. Here, you can adjust your bakery's name, logo, footer text, and other preferences, which will then be reflected on all new receipts.