Creating Your Account
Step-by-step guide to signing up for BakeOnyx and creating your bakery account.
Creating Your Account
- How to sign up for BakeOnyx with your email and password
- How to verify your email address
- What to expect during the onboarding process
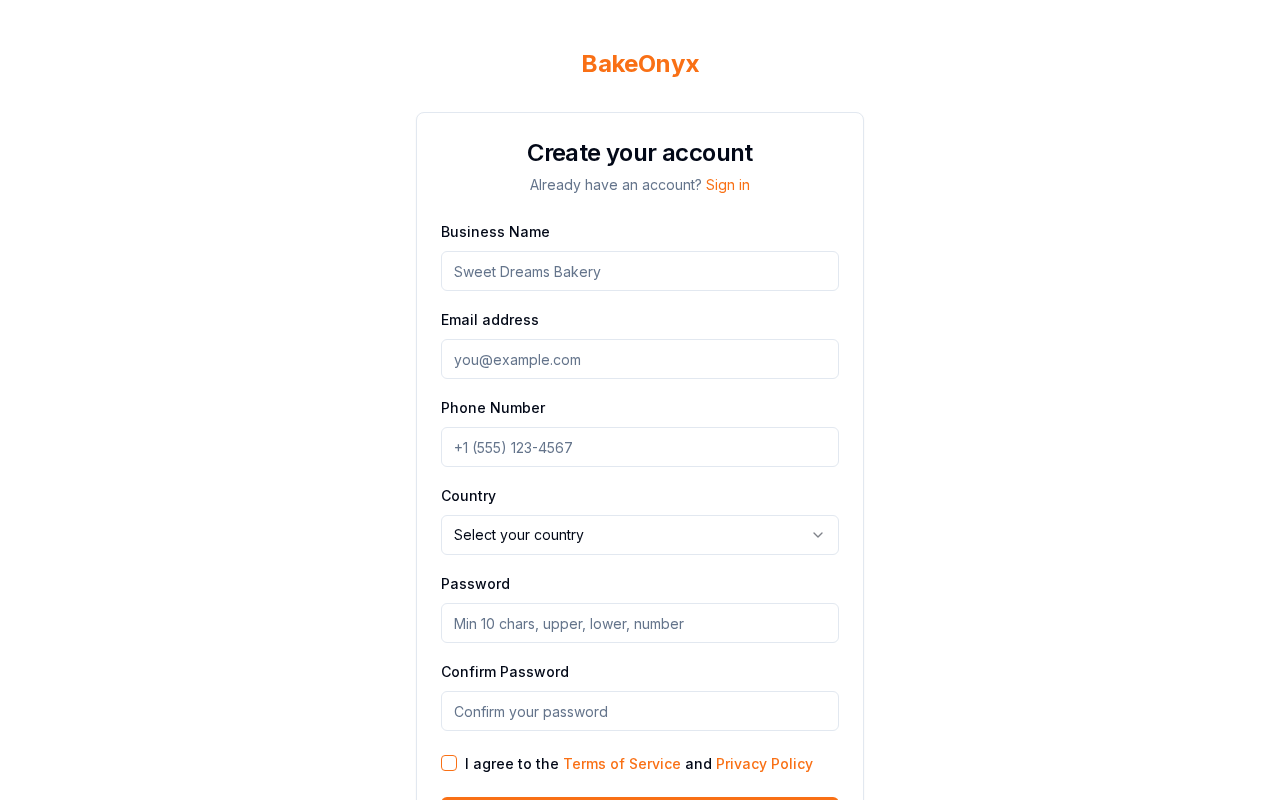
Sign Up for BakeOnyx
Getting started with BakeOnyx is quick and easy. Follow these steps to create your account:
- Go to
bakeonyx.com/signupin your web browser. - You'll see the BakeOnyx sign-up page. Enter your email address in the Email field.
- Create a strong password in the Password field. Your password should be at least 8 characters long and include a mix of letters, numbers, and symbols.
- Confirm your password by entering it again in the Confirm Password field.
- Read the Terms of Service and Privacy Policy, then check the box next to I agree to the Terms of Service and Privacy Policy.
- Click the Create Account button.
Verify Your Email Address
After you click Create Account, BakeOnyx will send a verification email to the address you provided. Here's what to do next:
- Check your email inbox for a message from BakeOnyx with the subject line "Verify Your Email Address."
- Open the email and click the Verify Email button or link.
- You'll be taken back to BakeOnyx, and your email will be confirmed.
Complete Your Onboarding
Once your email is verified, BakeOnyx will guide you through a quick onboarding process to get your account set up. During onboarding, you'll:
- Enter your bakery name
- Add your bakery's location and contact information
- Set up your first user (this will be you)
- Choose your preferences for how you want to use BakeOnyx
Take your time with these steps—you can update any of this information later if needed. The onboarding usually takes about 5–10 minutes.
You're Ready to Go!
Once you've completed onboarding, you'll be logged into your BakeOnyx dashboard. You're now ready to start managing your bakery. Your next steps might include setting up your bakery profile with more details, creating your first recipe, or adding your first order.
Troubleshooting
Forgot your password? Go to bakeonyx.com/signup and click the "Forgot Password?" link. Enter your email address, and we'll send you instructions to reset it.
Account already exists? If you see a message saying your email is already registered, you may have created an account before. Try logging in with your email address and password instead.
Next Steps
- Setting Up Your Bakery Profile — Add detailed information about your bakery, including hours, contact details, and more.
- Creating a New Order — Start managing your first order in BakeOnyx.
- Creating a Recipe — Set up your first recipe to track ingredients and costs.
The summary, FAQ, and statistics in this section were compiled from public sources and reviewed by the BakeOnyx editorial team. AI-assisted research.
Frequently Asked Questions
What information do I need to create a BakeOnyx account?▾
To create your BakeOnyx account, you will need a valid email address and a strong password. The password should be at least 8 characters long and include a combination of letters, numbers, and symbols. You will also need to agree to the Terms of Service and Privacy Policy.
How long does the BakeOnyx onboarding process take?▾
The initial onboarding process for BakeOnyx is designed to be quick and efficient, usually taking between 5 to 10 minutes to complete. During this time, you'll set up essential details like your bakery's name, location, contact information, and your primary user profile.
What should I do if I don't receive the verification email from BakeOnyx?▾
If you haven't received the verification email from BakeOnyx within a few minutes, please check your spam or junk mail folders, as automated emails can sometimes be filtered there. If you still cannot locate the email, you can request a new verification email from the BakeOnyx sign-up page.
Can I change my bakery details after completing the onboarding in BakeOnyx?▾
Yes, absolutely. BakeOnyx is designed to be flexible and grow with your business. You can easily update and add more detailed information about your bakery, products, recipes, and team members at any time after completing the initial onboarding process.
What if I already have a BakeOnyx account with my email?▾
If you encounter a message indicating that your email is already registered when trying to create a new account, it likely means you've previously created an account. In this case, please try logging in directly using your email address and password instead of attempting to sign up again.