Importing and Exporting Data
Import existing data into BakeOnyx from CSV files and export your data for backups or external use.
Importing and Exporting Data
- Import customer, ingredient, recipe, and order data from CSV files
- Export your BakeOnyx data for backups or use in other tools
- Validate and fix data issues before importing to keep your records clean
When to Import and Export Data
Importing is helpful when you're switching to BakeOnyx from spreadsheets or another bakery management system. Exporting lets you back up your data, share it with your accountant, or move information to other tools.
BakeOnyx supports importing and exporting for:
- Customers — names, emails, phone numbers, addresses
- Ingredients — names, units, costs, suppliers, stock levels
- Recipes — names, categories, yields, and ingredient lists
- Orders — customer details, items, dates, and totals
How to Export Data
Exporting is the easiest way to get your data out of BakeOnyx. You can export from any list page (Customers, Ingredients, Recipes, or Orders).
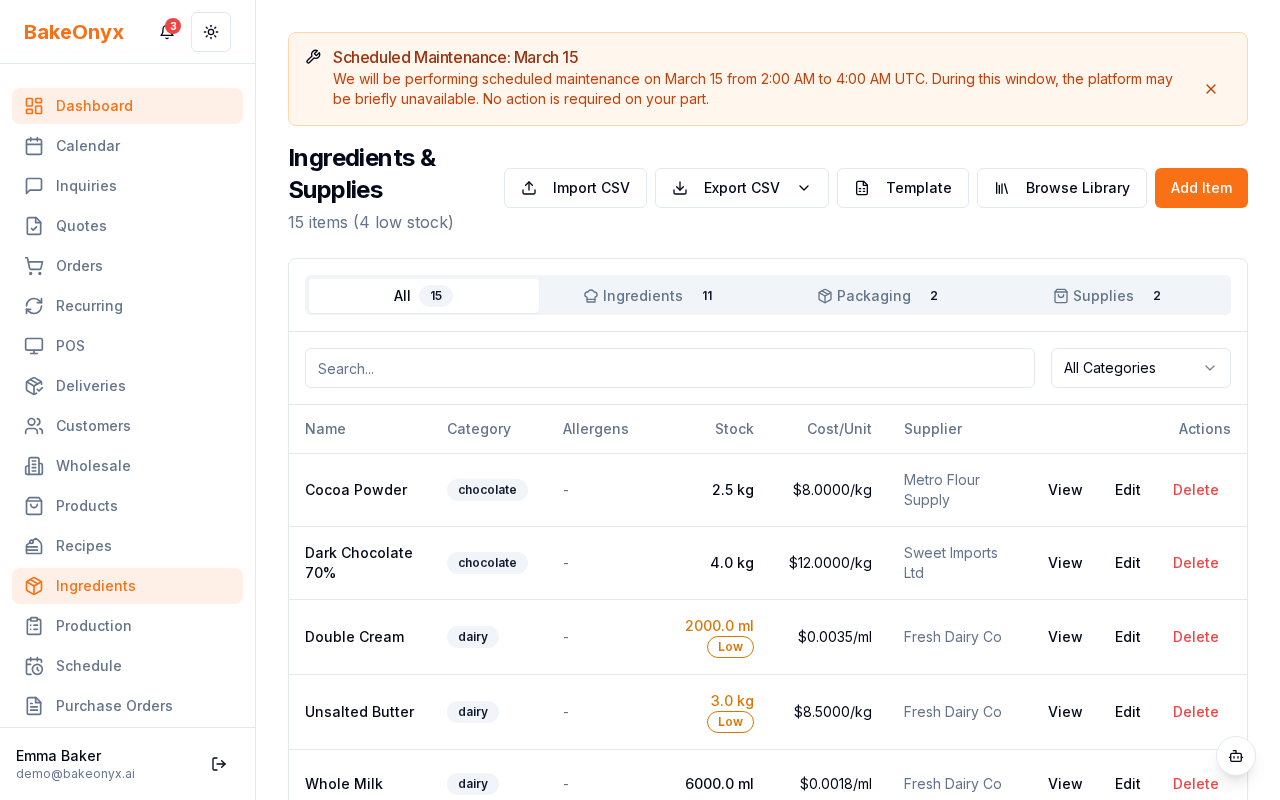
- Go to the list page for the data you want to export (for example, Ingredients).
- Look for the Export button near the top of the page.
- Click Export — your browser will download a CSV file with all the data currently shown (including any filters you've applied).
- The file will be named something like
ingredients_export.csvand saved to your Downloads folder.
How to Import Data
Importing brings data from a CSV file into BakeOnyx. The process includes a validation step to catch errors before they're saved.
Step 1: Prepare Your CSV File
Your CSV file must have the correct column headers. The easiest way to get the right format is to download a template:
- Go to the list page where you want to import data (for example, Customers).
- Look for the Import button or Download Template link near the top of the page.
- Click Download Template to get a blank CSV file with the correct columns.
- Open the template in a spreadsheet app (Excel, Google Sheets, etc.) and fill in your data.
- Save the file as CSV format.
Step 2: Upload Your File
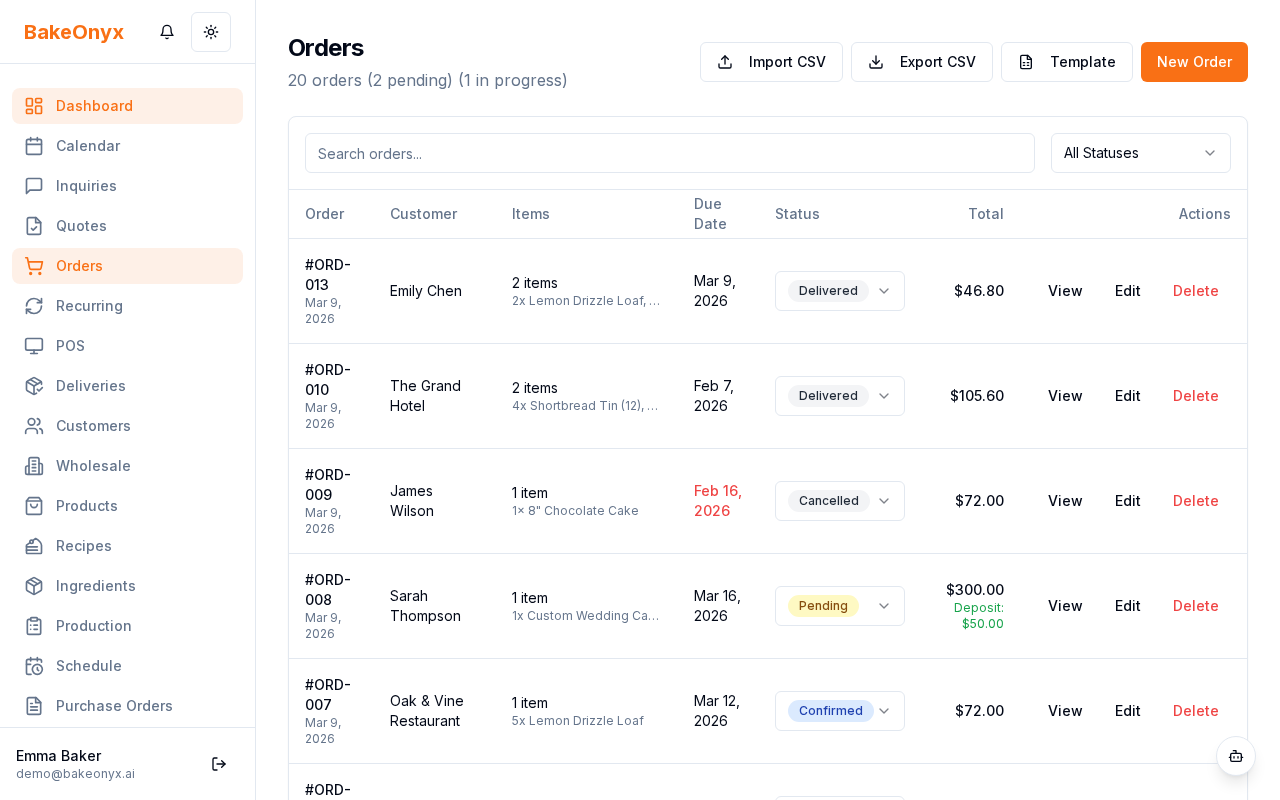
- Go to the list page where you want to import (for example, Orders).
- Click the Import button at the top of the page.
- Select your CSV file from your computer.
- Click Upload.
Step 3: Review and Confirm
BakeOnyx will preview your data and check for problems:
- Review the preview table showing the rows from your file.
- Check the validation report at the top — it will show any errors or warnings.
- Common issues include:
- Missing required fields (like customer name or ingredient unit)
- Duplicate entries (same email for customers, same name for ingredients)
- Invalid data types (like text in a number field)
- If there are errors, you can:
- Go back and fix your CSV file, then re-upload it
- Or proceed with a partial import — valid rows will be imported and errors will be reported
- Once you're satisfied, click Confirm Import.
Next Steps
- Quick Start: Home Baker (1-2 People) — Get BakeOnyx set up for your bakery
- Creating a New Order — Learn how to manually create orders in BakeOnyx
- Creating a Recipe — Add recipes to your inventory
The summary, FAQ, and statistics in this section were compiled from public sources and reviewed by the BakeOnyx editorial team. AI-assisted research.
Frequently Asked Questions
What types of data can I import and export with BakeOnyx?▾
BakeOnyx supports the import and export of key business data. This includes customer information (names, contact details, addresses), ingredient lists (names, units, costs, suppliers, stock levels), detailed recipes (names, categories, yields, ingredients), and order records (customer, items, dates, totals). This comprehensive data handling ensures flexibility and control over your bakery's information.
How do I prepare a CSV file for importing into BakeOnyx?▾
To prepare a CSV file for import into BakeOnyx, it's best to start with a template. Navigate to the relevant list page (e.g., Customers, Ingredients) within BakeOnyx and download the provided template. This ensures your file has the correct column headers. Open the template in spreadsheet software, fill it with your data, and save it in CSV format.
What happens if my CSV file has errors during import?▾
When you upload a CSV file to BakeOnyx, the platform performs a validation step. It will preview your data and highlight any errors or warnings in a report. Common issues include missing required fields, duplicate entries, or incorrect data types. You can then correct these errors in your CSV file before finalizing the import.
Can I export only a portion of my data from BakeOnyx?▾
Yes, BakeOnyx allows you to export specific subsets of your data. When you filter a list (such as ingredients from a particular supplier or orders within a date range) on any list page before clicking the 'Export' button, the downloaded CSV file will only contain the filtered rows. This is a powerful feature for targeted data management.
Why would I export data from BakeOnyx?▾
Exporting data from BakeOnyx serves multiple purposes. It's essential for creating backups of your valuable business information, ensuring you have a local copy. You can also export data to share with external parties like accountants or bookkeepers. Furthermore, exporting allows you to migrate your data to other software applications or for custom analysis.