Quick Start: Bakery Shop (3-15 Staff)
Setup guide for established bakeries — import data, configure teams, and set up suppliers.
Quick Start: Bakery Shop (3-15 Staff)
Welcome to BakeOnyx! This guide walks you through the essential setup steps to get your established bakery up and running. Whether you're moving from spreadsheets or upgrading your system, you'll be taking orders and managing production within hours.
- Import your existing customer, ingredient, and recipe data
- Set up your team with appropriate roles and permissions
- Configure suppliers, purchase orders, and delivery zones
Step 1: Import Your Existing Data
BakeOnyx makes it easy to bring your data over from spreadsheets or your old system. You'll import three key datasets:
- Go to Customers in the main menu and click Import CSV
- Download the customer template, fill in your existing customer list (name, email, phone, address), and upload
- Repeat this process for Ingredients and Recipes
- Each list page has an Import CSV button with a downloadable template — use these templates to ensure your data matches the right format
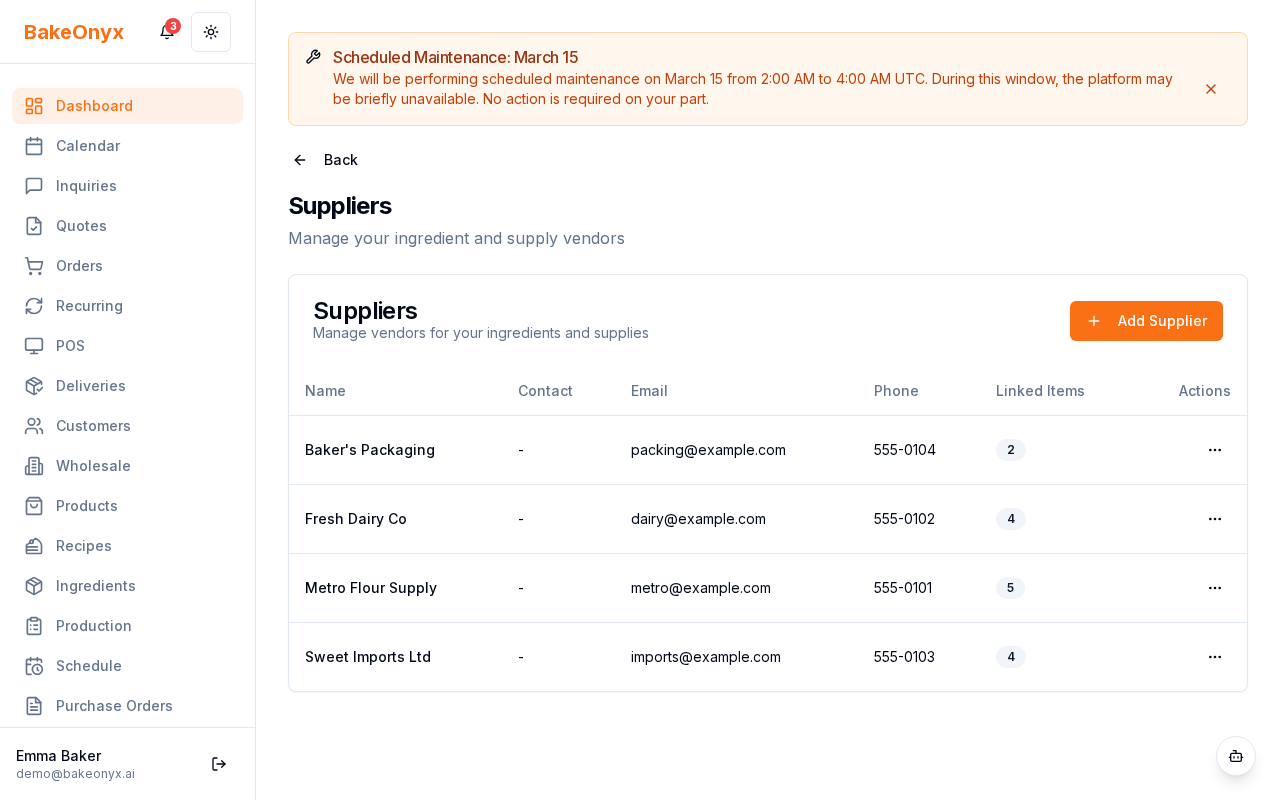
Step 2: Add Your Suppliers
Set up your ingredient and material suppliers so you can track orders and manage inventory effectively.
- Navigate to Settings → Suppliers
- Click Add Supplier
- Enter supplier details: name, contact person, phone, email, and address
- Add payment terms (e.g., Net 30) and lead time (how many days until delivery)
- Save and repeat for each supplier
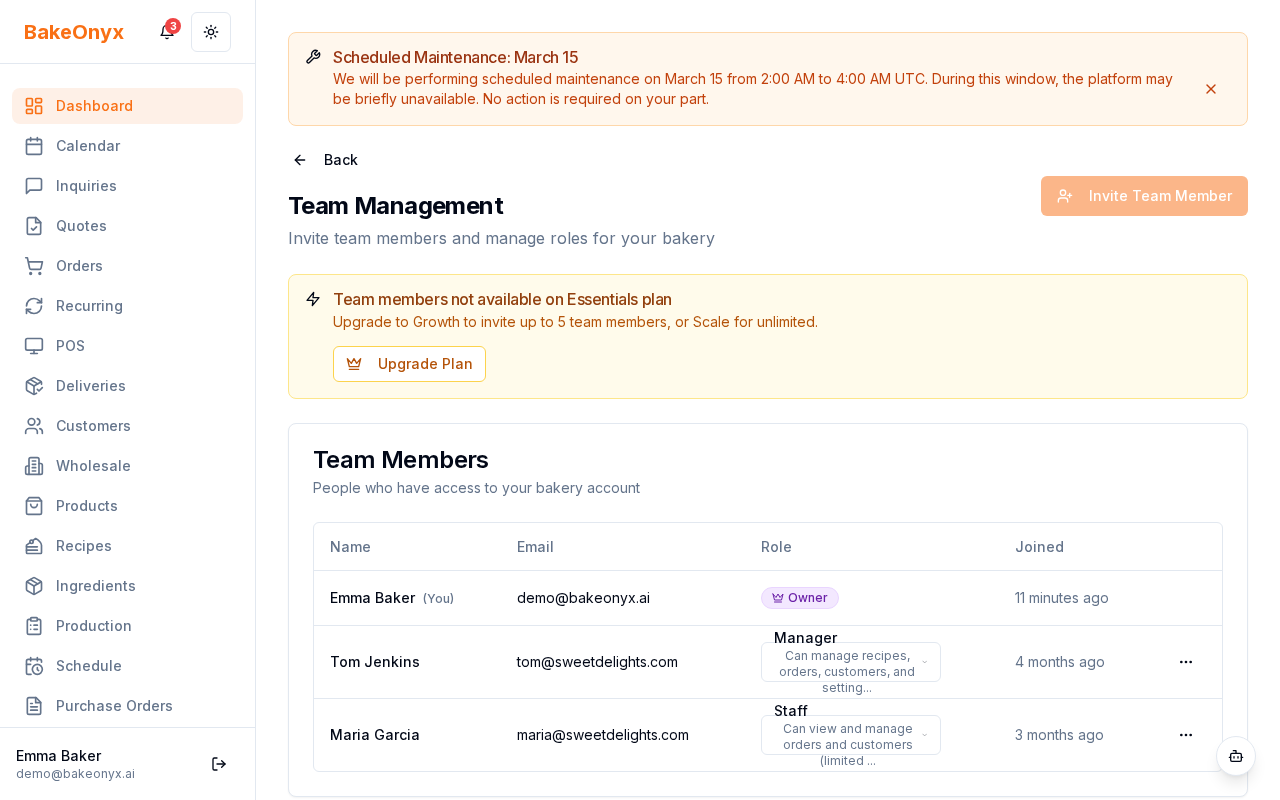
Step 3: Configure Your Team
Add your staff members and assign roles that match their responsibilities. BakeOnyx offers three main role types:
- Owner: Full access to all settings, reporting, and financial data
- Manager: Can manage orders, production, inventory, and staff — but not financial settings
- Staff: Can view and update job sheets, mark tasks complete, and update inventory
- Go to Settings → Team
- Click Add Team Member
- Enter their email address and select their role
- They'll receive an invitation to set up their account
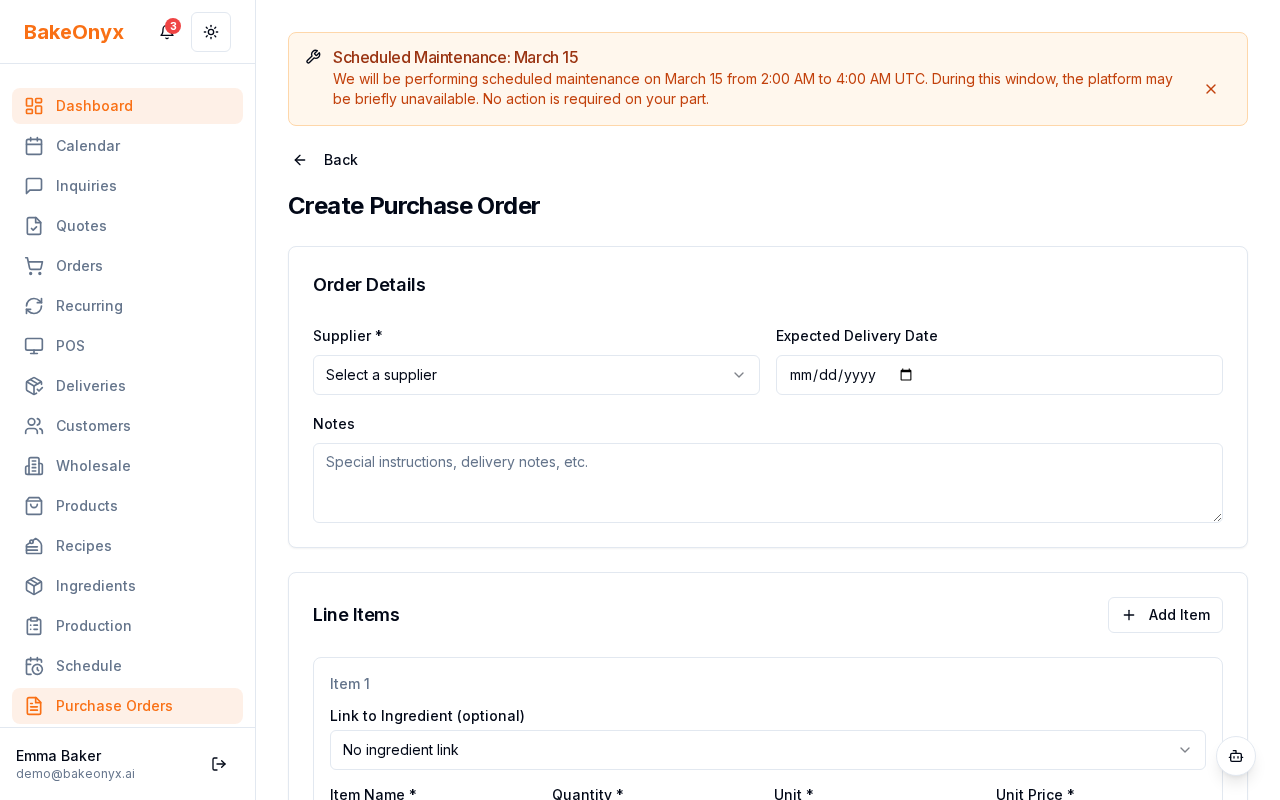
Step 4: Set Up Purchase Orders
Purchase orders let you track ingredient orders from suppliers and automate reordering for items you buy regularly.
- Go to Orders → Purchase Orders
- Click New Purchase Order
- Select your supplier and add the ingredients you're ordering
- Set the delivery date and any special notes
- Save and track the order status as it arrives
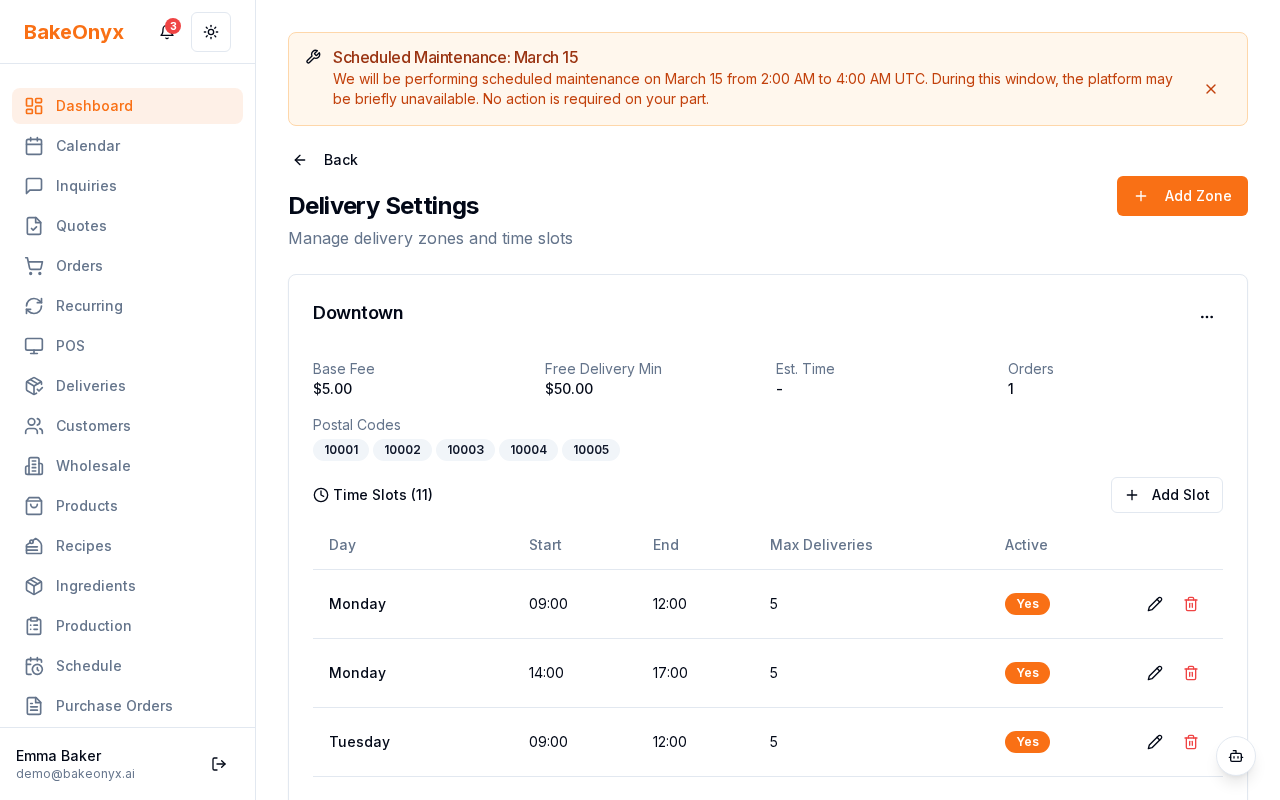
Step 5: Enable Delivery & Online Ordering (Optional)
If you deliver to customers or want to accept online orders, set these up now:
- Delivery Zones: Go to Settings → Delivery Zones and define your service areas with delivery fees
- Online Store: Enable your storefront at Settings → Storefront to let customers order directly
- Payment Processing: Connect Stripe or Square for online payments
Step 6: Sync Your Accounting & Calendar
Connect BakeOnyx to your existing tools for a seamless workflow:
- QuickBooks or Xero: Sync invoices and expenses automatically
- Google Calendar: See order due dates alongside your team's schedule
Both integrations are available in Settings → Integrations.
You're Ready to Go!
Your bakery is now set up in BakeOnyx. Start by creating your first order from the dashboard or your online store. Your team will receive job sheets automatically, and you'll track inventory in real time.
Next Steps
The summary, FAQ, and statistics in this section were compiled from public sources and reviewed by the BakeOnyx editorial team. AI-assisted research.
Frequently Asked Questions
How do I import my existing customer and recipe data into BakeOnyx?▾
BakeOnyx allows for straightforward data import via CSV files. Navigate to the 'Customers,' 'Ingredients,' or 'Recipes' sections in the main menu and click 'Import CSV.' Download the provided template, populate it with your existing data (name, email, phone, address for customers; relevant details for ingredients and recipes), and then upload the completed file to seamlessly integrate your information into the platform.
What are the different user roles available in BakeOnyx for my staff?▾
BakeOnyx offers three primary roles to manage team access: 'Owner' has full administrative control over all settings, reporting, and financials. 'Manager' can oversee orders, production, inventory, and staff management, but cannot access financial settings. 'Staff' members have access to view and update job sheets, mark tasks as complete, and manage inventory levels.
How can BakeOnyx help me manage my ingredient suppliers and purchase orders?▾
You can easily set up your ingredient suppliers under 'Settings' → 'Suppliers,' entering details like contact information, payment terms, and lead times. BakeOnyx then allows you to create and track purchase orders directly from the 'Orders' → 'Purchase Orders' section, selecting your supplier and adding the necessary ingredients, which helps automate reordering and manage inventory effectively.
Is it possible to add more recipes and ingredients later if I don't import everything at once?▾
Yes, absolutely. The quick start guide recommends importing your most frequently used recipes and ingredients first to get daily production running smoothly. BakeOnyx is designed for scalability, allowing you to add more recipes, ingredients, customers, and suppliers at any time as your business needs evolve or as you integrate more fully with the system.
How does BakeOnyx handle team invitations and account setup?▾
When adding a new team member under 'Settings' → 'Team,' you'll enter their email address and assign their role. BakeOnyx will then automatically send an invitation to that email address. The team member can follow the link in the invitation to set up their account, including choosing a password and completing any necessary profile information.