Setting Up Online Payments
Connect Stripe or Square to accept online payments from customers via payment links.
💡 Once Connected, Payment Links Are Automatic
After connecting Stripe or Square here, every invoice you send will automatically include a "Pay Now" button for your customers. No extra setup needed per order.
Setting Up Online Payments
- Connect your Stripe or Square account to accept online payments
- Generate automatic payment links for customer orders
- Track payment status and manage multiple payment providers
What You Need to Know
Online payments in BakeOnyx let your customers pay for orders directly through secure payment links — no need for them to log in or call your bakery. You can accept payments via Stripe or Square (or both at the same time), and BakeOnyx automatically tracks whether payments are completed, pending, or failed.
Setting up online payments is a Starter+ tier feature. If you're on the Free plan, you'll need to upgrade first.
Before You Start
You'll need either a Stripe account or a Square account (or both). If you don't have one yet:
- For Stripe: Create a free account at
stripe.com— BakeOnyx will guide you through connecting it. - For Square: Sign up at
squareup.comand have your Application ID, Access Token, and Location ID ready.
Connecting Your Payment Provider
Step 1: Go to Payment Settings
- From your BakeOnyx dashboard, click Settings in the left menu.
- Select Payments from the settings options.
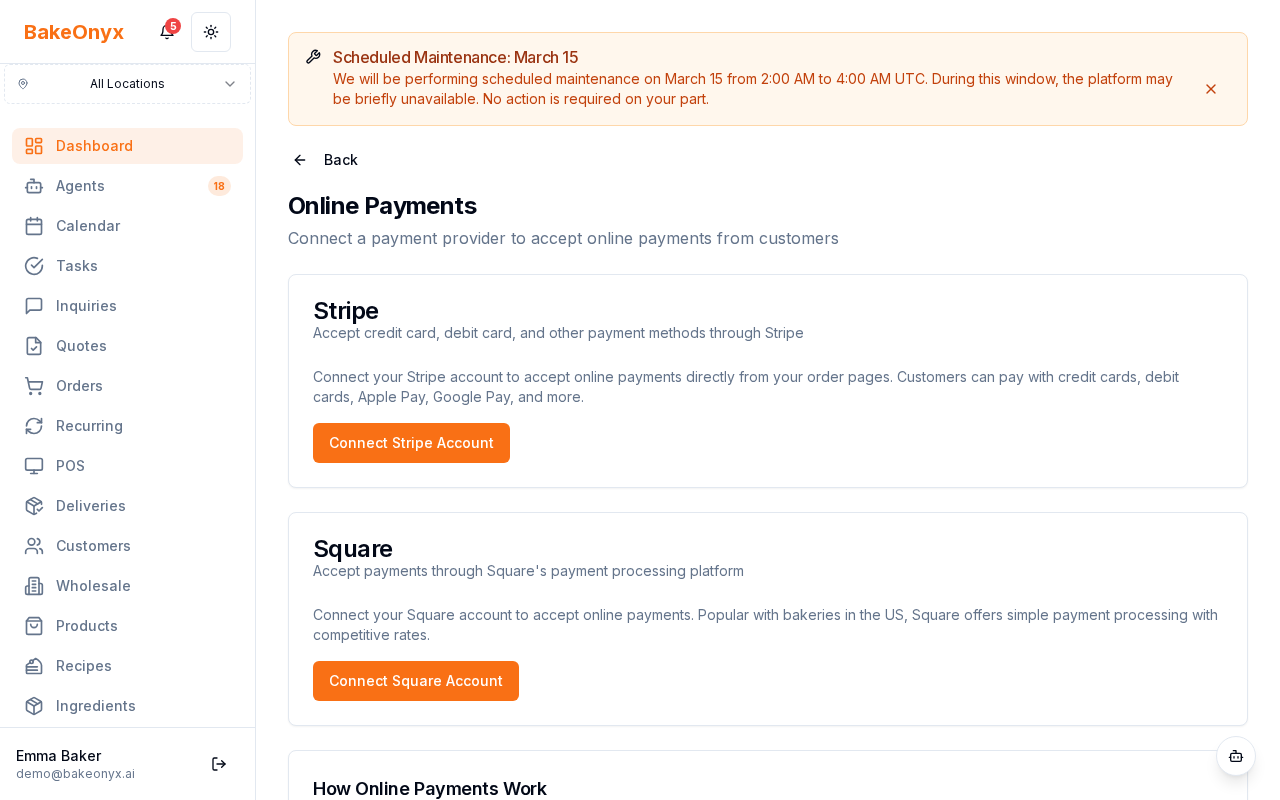
Step 2: Connect Stripe (Option A)
- Under the Stripe section, click Connect with Stripe.
- You'll be taken to Stripe's website to authorize the connection.
- Sign in with your Stripe account (or create one if you don't have it yet).
- Review the permissions BakeOnyx is requesting and click Authorize.
- You'll be returned to BakeOnyx — your Stripe account is now connected.
Step 3: Connect Square (Option B)
- Under the Square section, click Enter Credentials.
- Paste your Square Application ID into the first field.
- Paste your Access Token into the second field.
- Enter your Square Location ID in the third field.
- Click Save and Connect.
Using Payment Links
Once you've connected at least one payment provider, BakeOnyx automatically creates a payment link for each order. When you create or edit an order, you'll see a unique payment link that you can share with your customer via email, text, or social media.
Your customer simply clicks the link, reviews the order total, and pays securely. They don't need to create an account or log in. The payment page shows your bakery name and order details.
Payment Amounts and Status
BakeOnyx tracks the status of every payment automatically through secure webhooks:
- Pending: Customer has started the payment process.
- Completed: Payment successfully received.
- Failed: Payment was declined or not completed.
- Refunded: You've issued a refund to the customer.
Minimum payment amounts are $0.50 for Stripe and $1.00 for Square.
Using Multiple Providers
You can connect both Stripe and Square at the same time. When both are active, customers will see both payment options on the payment page and can choose which one they prefer. This gives your customers flexibility and can help if one service experiences an outage.
Next Steps
- Welcome to BakeOnyx — Learn the basics of the platform
- Understanding Subscription Plans — Upgrade to Starter+ to unlock online payments
- Multi-Location Management — Set up payments for each of your bakery locations
The summary, FAQ, and statistics in this section were compiled from public sources and reviewed by the BakeOnyx editorial team. AI-assisted research.
Frequently Asked Questions
How do I set up online payments in BakeOnyx?▾
To set up online payments in BakeOnyx, navigate to 'Settings' from your dashboard and then select 'Payments'. You can then choose to connect either your Stripe or Square account. For Stripe, click 'Connect with Stripe' and authorize the connection. For Square, click 'Enter Credentials' and input your Application ID, Access Token, and Location ID.
What payment providers does BakeOnyx support?▾
BakeOnyx supports online payments through two major providers: Stripe and Square. You can connect one or both accounts simultaneously. This allows customers to pay securely via their preferred method, and BakeOnyx automatically tracks the payment status for each transaction.
Do customers need an account to pay online through BakeOnyx?▾
No, customers do not need to create an account or log in to pay for orders through BakeOnyx. Once a payment link is generated and shared, customers can simply click the link, review their order details and total, and complete the payment securely through the integrated Stripe or Square portal.
Is setting up online payments available on all BakeOnyx plans?▾
Setting up and using online payments through BakeOnyx is a feature included in the Starter+ tier and above. Customers on the Free plan will need to upgrade to a paid plan to access this functionality and offer secure online payment options to their customers.
How are payment links generated and shared?▾
After connecting a payment provider like Stripe or Square, BakeOnyx automatically generates a unique payment link for every order. You can find this link when creating or editing an order. This link can then be easily shared with your customer via email, text message, or social media.