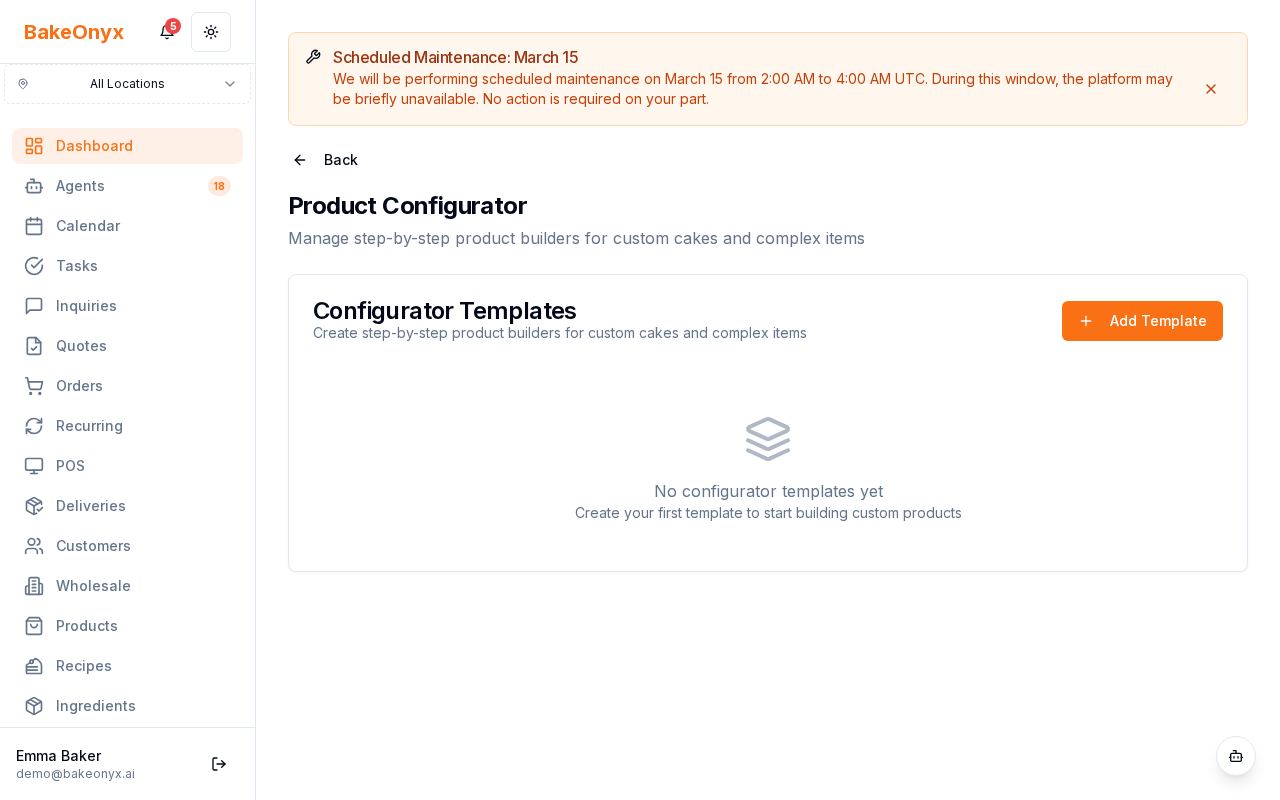
Product Configurator
Set up step-by-step product builders that let storefront customers customize cakes, cupcakes, and more.
Product Configurator
- Create step-by-step customization flows for cakes, cupcakes, and other products
- Set up single-select, multi-select, text input, and image upload options
- Add price modifiers to each customization option (e.g., +£5 for fondant covering)
What is the Product Configurator?
The Product Configurator lets you build guided customization experiences for your customers. Instead of a simple "Add to Cart" button, customers can click Customize and walk through a wizard that lets them choose size, flavors, toppings, add inscriptions, upload reference photos, and more. Each choice can add to the final price.
For example, a customer ordering a custom birthday cake might:
- Select cake size (Small, Medium, Large)
- Choose flavor (Vanilla, Chocolate, Lemon)
- Pick frosting type (Buttercream, Fondant — fondant adds £5)
- Add toppings (Sprinkles, Fresh berries, Edible flowers)
- Enter a custom inscription
- Upload a reference photo
The final price automatically includes the base product price plus all selected modifiers.
Access the Product Configurator
- Log in to your BakeOnyx dashboard
- Go to Settings in the left sidebar
- Click Product Configurator
Create a New Configurator
- Click the Create New Configurator button
- Enter a Configurator Name (e.g., "Custom Birthday Cake")
- Select the Product Type this configurator applies to (e.g., Cakes, Cupcakes)
- Click Create
Add Configuration Steps
Once your configurator is created, you'll add steps in order. Customers will see these steps one at a time in the storefront wizard.
Step 1: Add a Step
- Click Add Step
- Give the step a name (e.g., "Choose Your Size")
- Select the step type from the dropdown:
- Single Select — customer picks one option (e.g., size)
- Multi-Select — customer can pick multiple options (e.g., toppings)
- Text Input — customer types text (e.g., inscription)
- Image Upload — customer uploads a file (e.g., reference photo)
Step 2: Add Options (for Select Steps)
For Single Select and Multi-Select steps, add the available choices:
- Click Add Option
- Enter the Option Name (e.g., "Small", "Medium", "Large")
- Optional: Enter a Price Modifier (e.g., +£5 for a larger size, or leave blank for no extra cost)
- Click Save Option
- Repeat for each option in this step
Step 3: Configure Text and Upload Steps
For Text Input steps (like inscriptions):
- Set a character limit if needed
- Add placeholder text (e.g., "Enter up to 50 characters")
- Optionally set a price modifier (e.g., +£2 for personalization)
For Image Upload steps (like reference photos):
- Set the maximum file size allowed
- Specify accepted file types (JPG, PNG, etc.)
- Optionally set a price modifier
Arrange and Edit Steps
- Drag steps to reorder them — customers will see them in this order
- Click Edit to change a step's name or options
- Click Delete to remove a step
Link to Storefront Products
Once your configurator is saved, it's automatically linked to products of the matching type. When customers view those products on your storefront, they'll see a Customize button. Clicking it launches your configurator wizard.
Next Steps
- Welcome to BakeOnyx — learn the basics of your dashboard
- AI Agent Settings — automate customer support responses
- Understanding Subscription Plans — review features available on your plan
The summary, FAQ, and statistics in this section were compiled from public sources and reviewed by the BakeOnyx editorial team. AI-assisted research.
Frequently Asked Questions
How does the BakeOnyx Product Configurator improve customer ordering?▾
The BakeOnyx Product Configurator transforms a standard 'Add to Cart' into an interactive 'Customize' experience. Customers are guided through a wizard to select specific options like size, flavor, frosting, and toppings, and can even add personalized inscriptions or upload reference photos. This detailed customization ensures customers get exactly what they want, while automatically calculating the final price.
What types of customization options can I add with BakeOnyx?▾
BakeOnyx's Product Configurator supports various option types to cater to diverse product needs. You can implement single-select for choices like cake size, multi-select for options like toppings, text input for custom inscriptions, and image uploads for customer reference photos. Each option can also have a price modifier to accurately reflect additional costs.
Can I set different prices for customization choices?▾
Yes, the BakeOnyx Product Configurator allows you to set price modifiers for each customization option. For example, choosing fondant frosting might add £5, or selecting premium toppings could add £3. These modifiers are automatically calculated and added to the base product price, providing customers with a transparent and accurate total as they build their order.
How do I access and set up the Product Configurator in BakeOnyx?▾
To access the Product Configurator, log in to your BakeOnyx dashboard, navigate to 'Settings' in the left sidebar, and then click on 'Product Configurator'. From there, you can create a new configurator by naming it, assigning it to a product type (like Cakes or Cupcakes), and then adding sequential steps for customer choices.
What are the different step types available in the configurator?▾
The BakeOnyx Product Configurator offers four main step types: Single Select (for one choice, e.g., flavor), Multi-Select (for multiple choices, e.g., toppings), Text Input (for custom messages or inscriptions), and Image Upload (for customers to provide reference photos). This flexibility allows for comprehensive product customization.