Your First 30 Days Checklist
A week-by-week plan to get your bakery fully set up on BakeOnyx within your first month.
Your First 30 Days Checklist
Starting with BakeOnyx? This week-by-week plan will have your bakery fully set up and running smoothly within your first month. Follow this checklist to build a solid foundation for managing orders, recipes, costs, and customers.
- Complete your setup in manageable weekly steps
- Get accurate recipe costs and pricing from day one
- Process your first orders and set up payment tracking
- Unlock growth features like online ordering and recurring orders
Week 1: Build Your Foundation
Your first week is all about setting up the core of your bakery in BakeOnyx.
- Complete the onboarding wizard. When you first log in, BakeOnyx will guide you through 5 setup steps. Don't skip this — it covers your bakery name, location, and basic preferences.
- Add your ingredients. Go to Ingredients and use the Master Ingredient Library to quickly add common items like flour, sugar, eggs, and butter. You can also add custom ingredients specific to your recipes.
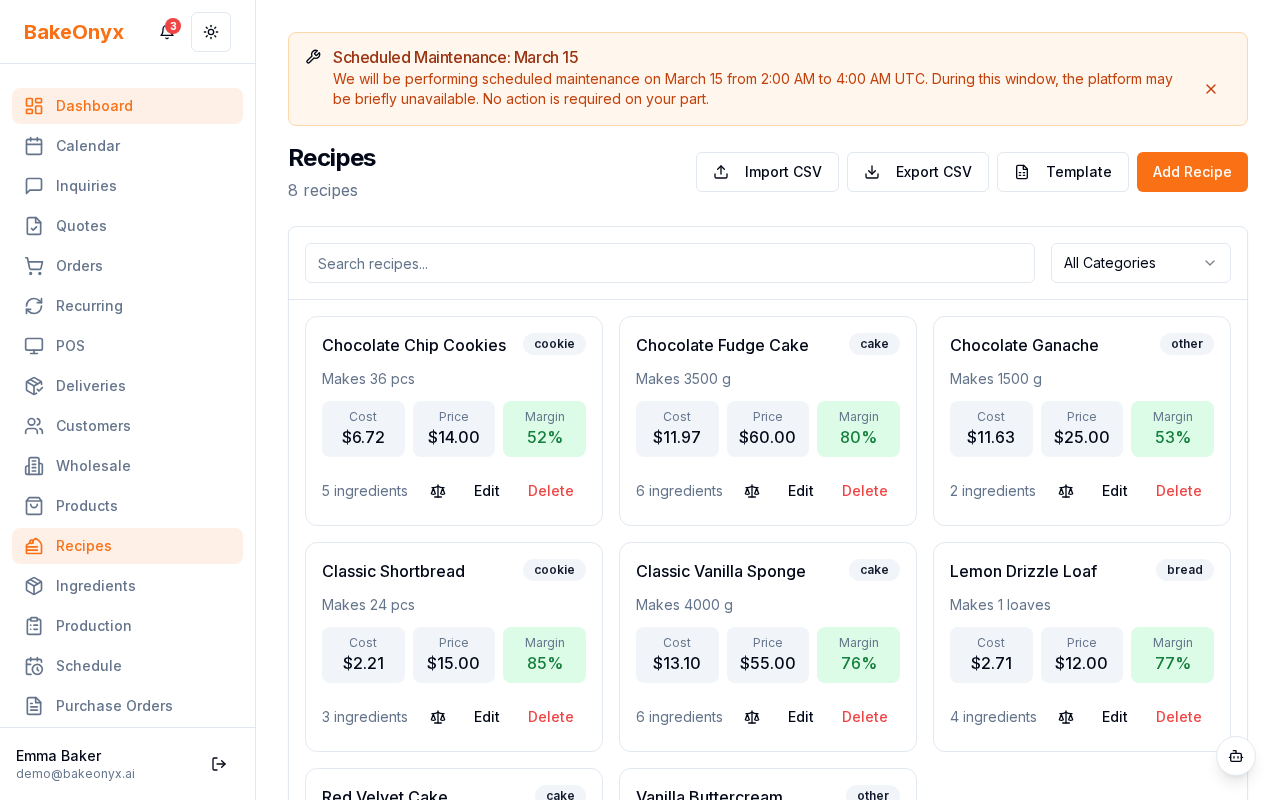
- Create your top 3–5 recipes. Start with your most popular items. Go to Recipes and click New Recipe. Add ingredients with exact quantities — this is critical for accurate costing.
- Set ingredient costs per unit. For each ingredient, enter the cost you pay per unit (per pound, per dozen, per bag, etc.). This is how BakeOnyx calculates your recipe costs automatically.
- Test a recipe cost. Create one recipe and check that the auto-calculated cost looks right. If it seems off, review your ingredient quantities and costs.

Week 2: Take Your First Orders
Now that your recipes are set up, it's time to process real orders.
- Set up your customer list. Go to Customers. You can import customers via CSV (if you have a list from another system) or add them manually as orders come in.
- Create your first order. Click New Order, select a customer, add your recipes, and set the order date and delivery date. Print the job sheet to give to your baking team.
- Create an invoice. Once an order is complete, generate an invoice from the order details. This shows your customer the final price and payment terms.
- Set up payment tracking. Mark payments as they come in — full payments, deposits, or partial payments. This keeps your cash flow clear.
Week 3: Unlock Growth Features
With orders flowing, it's time to expand your capabilities.
- Enable your online store (if on Growth plan). Go to Settings and turn on your online store. Customers can now browse your menu and place orders directly.
- Set up delivery zones and time slots. Define where you deliver and when. This helps customers see available delivery options at checkout.
- Create recurring order templates. For customers who order regularly (weekly birthday cakes, monthly corporate orders), set up templates to speed up the ordering process.
- Try the POS feature. If you have walk-in customers, test the Point of Sale feature for quick transactions.
- Set up email templates. Customize order confirmation emails so customers know their order is confirmed and what to expect next.
Week 4: Optimize and Review
Your final week is about making sure everything is working and finding opportunities to improve.
- Review your reports. Go to Reports and check your P&L Dashboard and Food Cost report. Are your recipe costs accurate? Is your profit margin where you expected?
- Adjust ingredient prices if needed. If your supplier prices changed or you found a better deal, update ingredient costs so future recipes reflect the new pricing.
- Explore AI features. Ask Bake Buddy (your AI assistant) questions about your business — like "What's my food cost percentage?" or "Which recipe is most profitable?"
- Set up expense tracking. Add operating expenses like rent, utilities, and supplies. This gives you a complete picture of your profitability.
- Consider purchase orders. If you're ready to streamline supplier management, explore purchase orders for bulk ingredient orders.
End-of-Month Check
Before you move into month two, verify that you've completed these key milestones:
- ✓ All your recipes have accurate ingredient costs
- ✓ Your customer list is imported or manually entered
- ✓ You've processed at least 3–5 real orders
- ✓ You've reviewed your first month P&L report
- ✓ Your online store is live (if applicable)
- ✓ Team members are added with the correct roles
Next Steps
You're off to a great start! Here are some related articles to dive deeper:
- Creating a New Order — detailed walkthrough of the order process
- Creating a Recipe — step-by-step recipe setup with costing
- Settings Overview: What to Configure — explore all the settings you can customize
The summary, FAQ, and statistics in this section were compiled from public sources and reviewed by the BakeOnyx editorial team. AI-assisted research.
Frequently Asked Questions
What are the essential first steps when setting up BakeOnyx?▾
Your first week with BakeOnyx should focus on building a strong foundation. Begin by completing the onboarding wizard, which guides you through essential bakery details. Next, add all your ingredients to the Master Ingredient Library, ensuring accurate costing. Finally, create your top 3-5 most popular recipes, inputting precise ingredient quantities and costs for accurate automatic calculation.
How do I start managing orders and customers with BakeOnyx?▾
In your second week using BakeOnyx, you'll transition to managing orders and customers. Start by setting up your customer list, either by importing existing data or adding new customers manually as orders come in. Then, create your first order, select a customer, add recipes, and generate a job sheet for your baking team. Finally, create an invoice and set up payment tracking to monitor your cash flow.
What growth features can I enable after the initial setup?▾
After establishing your core operations in BakeOnyx, you can unlock growth features in your third week. If you're on the Growth plan, enable your online store to allow customers to place orders directly. You can also set up delivery zones and time slots for seamless online checkout. Additionally, create recurring order templates for regular customers to streamline repeat business.
Why is setting accurate ingredient costs important in BakeOnyx?▾
Setting accurate ingredient costs in BakeOnyx from the start is crucial for profitability. The platform uses these costs, along with precise recipe quantities, to automatically calculate the exact cost of each baked item. This ensures your pricing is correct, reflecting your true expenses and allowing you to maintain healthy profit margins on every sale.
How does BakeOnyx help with tracking payments?▾
BakeOnyx simplifies payment tracking by allowing you to mark payments directly against orders and invoices. You can record full payments, deposits, or partial payments as they are received. This feature provides a clear overview of your incoming revenue and helps maintain accurate financial records, ensuring you know exactly what payments are outstanding.